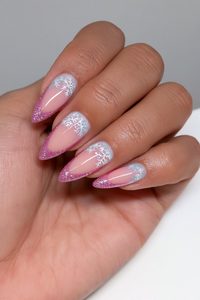
Sweet, striped, and totally doable at your kitchen table.
TL;DR
- 20 candy cane nail designs you can create with polish, tape, or a toothpick
- Ranges from classic stripes to glitter, ombré, and negative space
- Perfect for holiday parties, family gatherings, or everyday festive flair
There’s a particular kind of joy in swapping your everyday polish for something a little more mischievous once the string lights go up, and candy cane nail designs might be the easiest way to do it. The red-and-white stripe has become a genuine holiday-nail staple, one that shows up on manicure mood boards right alongside snowflakes and metallics every season. Part of the appeal is how forgiving it is: unlike hand-painted characters or intricate scenes, a candy cane stripe just needs a steady-ish hand, a thin brush or a length of tape, and a little patience while the polish sets.
Nail shape barely matters here, either — the classic diagonal stripe reads just as sweet on a rounded tip as it does on a longer, more dramatic point, so there’s no need to overhaul your usual nail shape to make it work.
This kind of low-effort, high-impact design is exactly why the trend keeps resurfacing: it photographs well, it pairs with everything from a chunky sweater to a party dress, and it takes maybe twenty extra minutes beyond your regular polish routine. Whether you’re after a full ten-nail moment or a single festive accent, there’s a version here to match your patience level and your polish collection.
Ahead, 20 candy cane nail designs to inspire your next holiday manicure, from beginner-easy stripes to slightly more advanced swirls and glitter finishes.
Classic Red-and-White Stripes
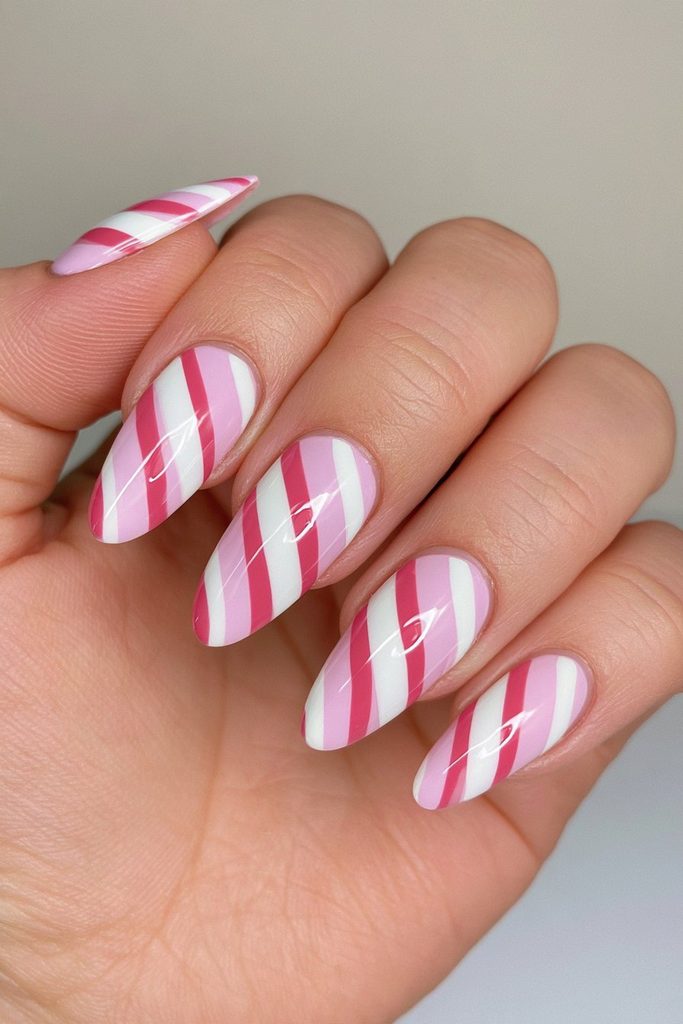
The original candy cane nail design starts with a white base and thin, diagonal red stripes running corner to corner. A tape-assisted method — press strips onto the back of your hand first to dull the stickiness, then angle them across the nail — gets you crisp, even lines without a freehand session, a method this candy cane tape tutorial walks through step by step. Finish with a glossy top coat for that polished, peppermint-shine look.
Diagonal Candy Cane Swirl
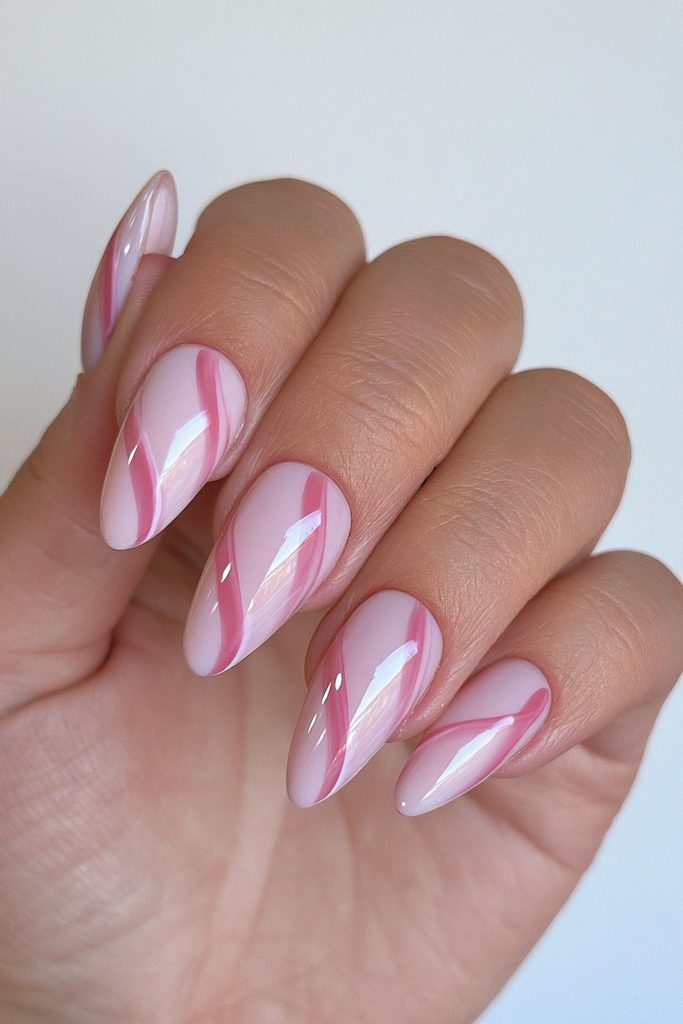
For a softer take on the stripe, skip the sharp angles and let the red curve gently around the nail, echoing the twist of an actual candy cane. Use a fine detail brush and work in one continuous motion rather than short strokes — it keeps the line from looking choppy. This version feels a touch more elevated, especially on a longer nail where the curve has more room to breathe.
Candy Cane French Tips
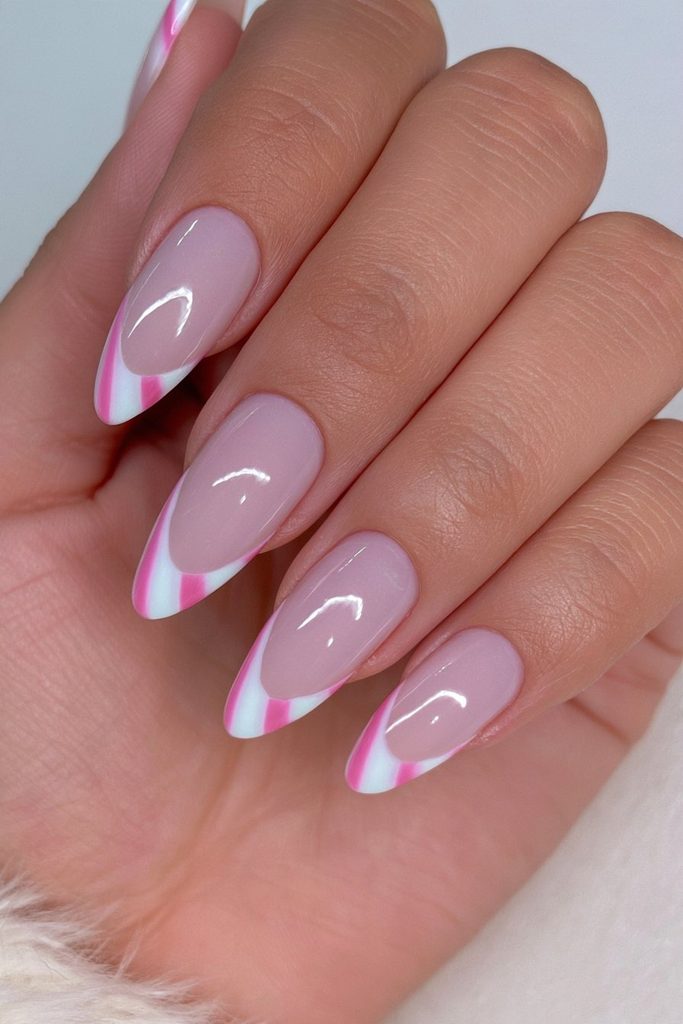
Give your everyday French manicure a holiday update by swapping the classic white tip for alternating red-and-white stripes. Paint a sheer nude or pale pink base first, then add the striped tip using a striping brush for definition. It’s a subtle way to wear the trend at work or a family dinner without going full novelty nail.
Negative-Space Candy Cane Tips
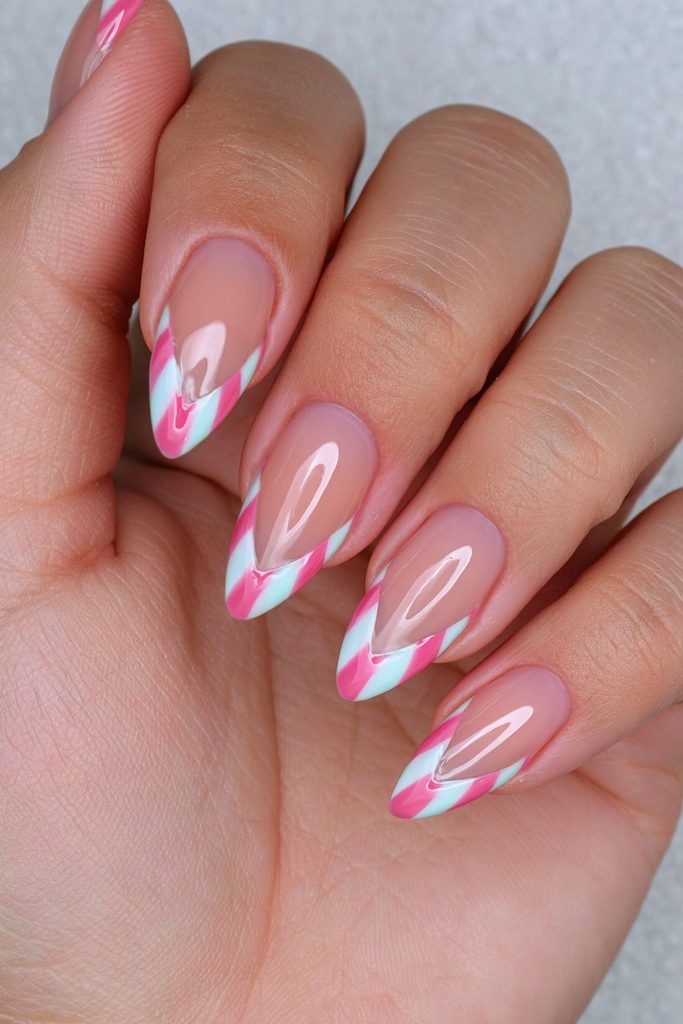
Rather than covering the whole nail, this version leaves the base bare (or under a single clear coat) and adds candy cane stripes only at the tip. It’s quick, low-commitment, and especially flattering on shorter nails, where a full striped design can start to feel busy. Two or three thin stripes are usually enough — resist the urge to overfill the space.
Chevron Candy Cane Stripes
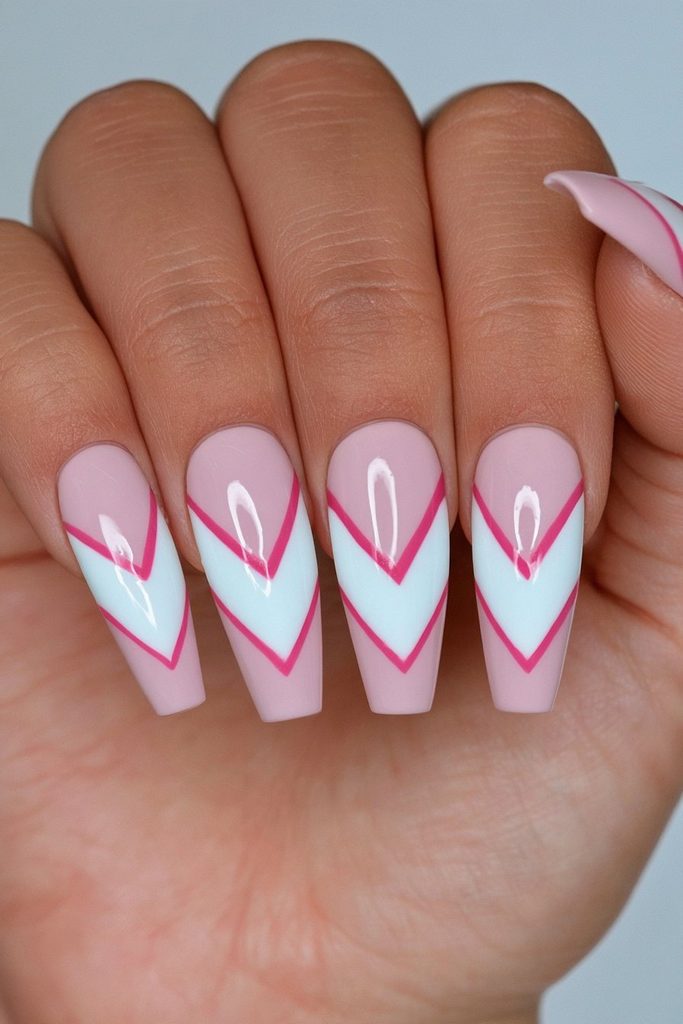
Swap straight diagonal lines for angled V-shapes and the classic candy cane instantly reads more graphic and modern. Use striping tape folded at a point to mask each chevron, then fill in alternating red and white. It takes a little more setup than the classic stripe, but the geometric payoff is worth the extra few minutes.
Candy Cane Ombré
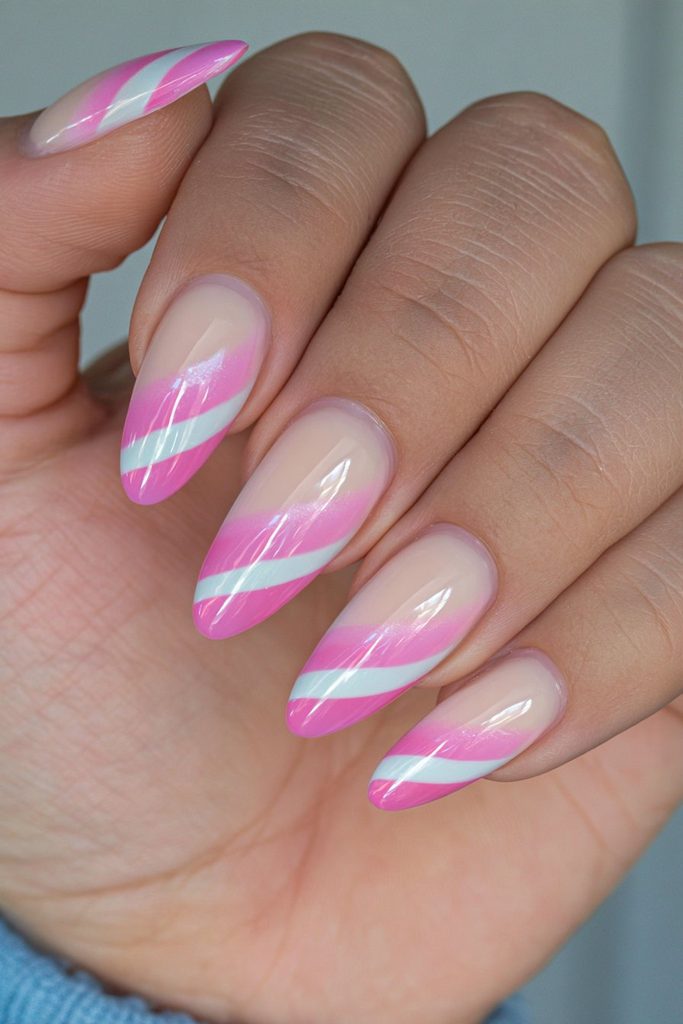
Instead of hard stripes, blend red and white into a soft gradient using a makeup sponge — a technique with the same dreamy, translucent quality found in blue jelly nail designs, just shifted into a warmer holiday palette. Dab the sponge from the tip inward, building up color gradually so the transition stays soft rather than blotchy.
Glitter-Dipped Candy Cane Stripes
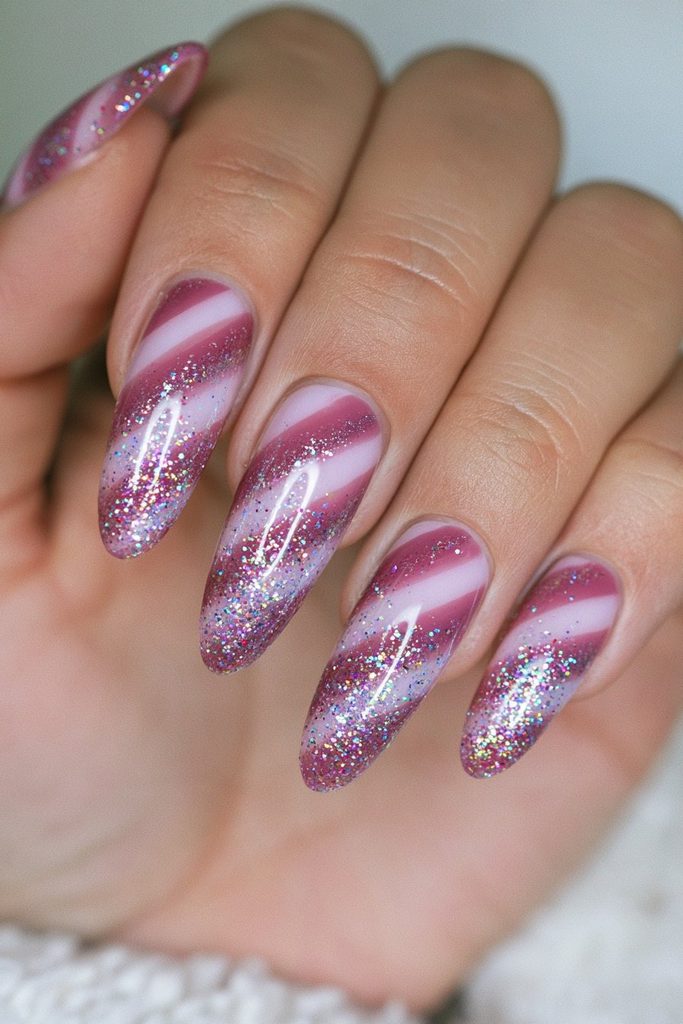
Once your base stripes are dry, brush a fine red or silver glitter polish over just the tips or along the edge of each stripe for a bit of shimmer. One glittery candy cane manicure tutorial leans into negative space and a single diagonal glitter line for a look that reads sparkly and grown-up rather than glitter-bomb. A gel top coat helps lock the glitter down and prevents shedding.
Candy Cane Accent Nail
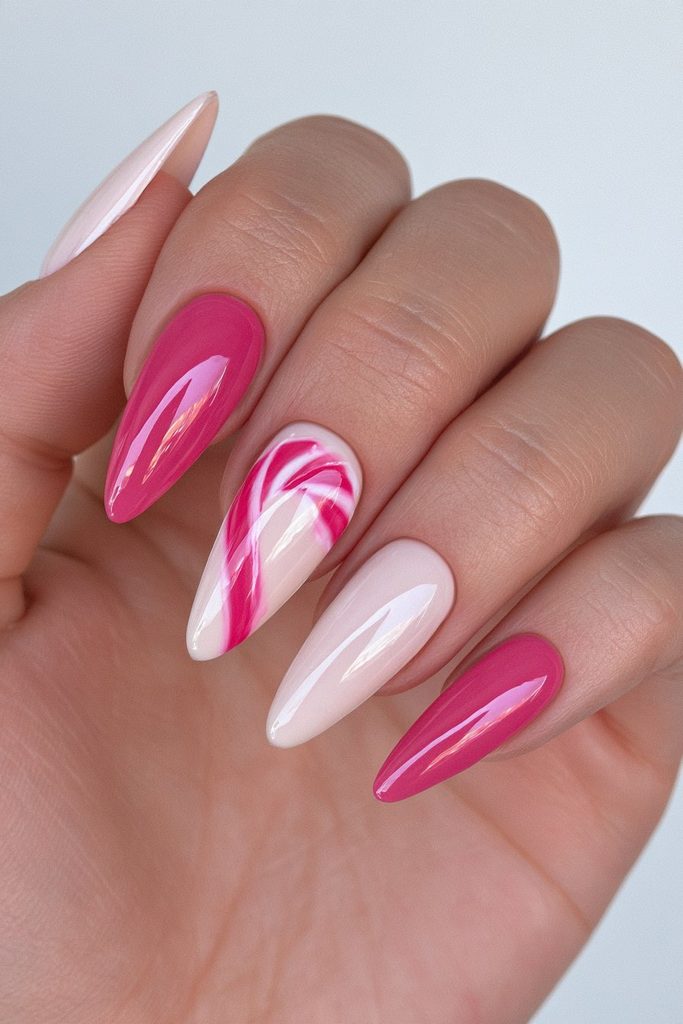
If a full set of striped nails feels like too much, paint just one nail — typically the ring finger — with the candy cane design and keep the rest a simple red, white, or neutral shade. It’s an easy entry point into the trend and cuts your painting time considerably.
Mini Hand-Painted Candy Canes
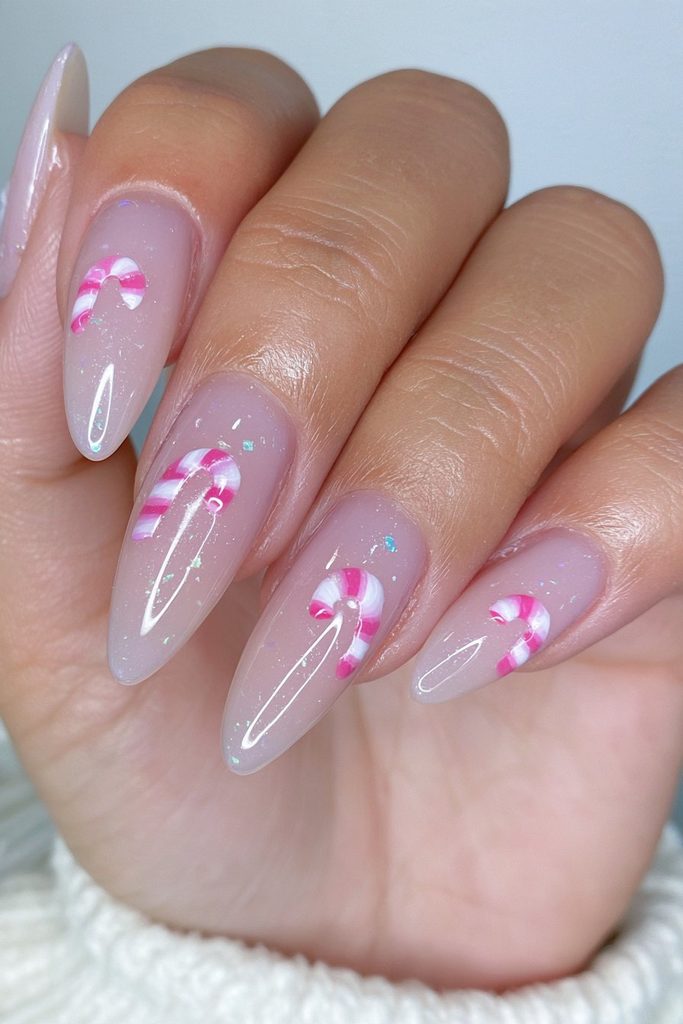
For something more literal, paint one or two tiny candy cane shapes directly onto a solid red or white base using a fine detail brush — a curved white hook with red diagonal stripes down the length. A roundup of holiday nail tutorials points to this kind of small-scale, illustrative candy cane nail design as an easy way to add personality without covering the whole nail in pattern.
Candy Cane Swirl Dots
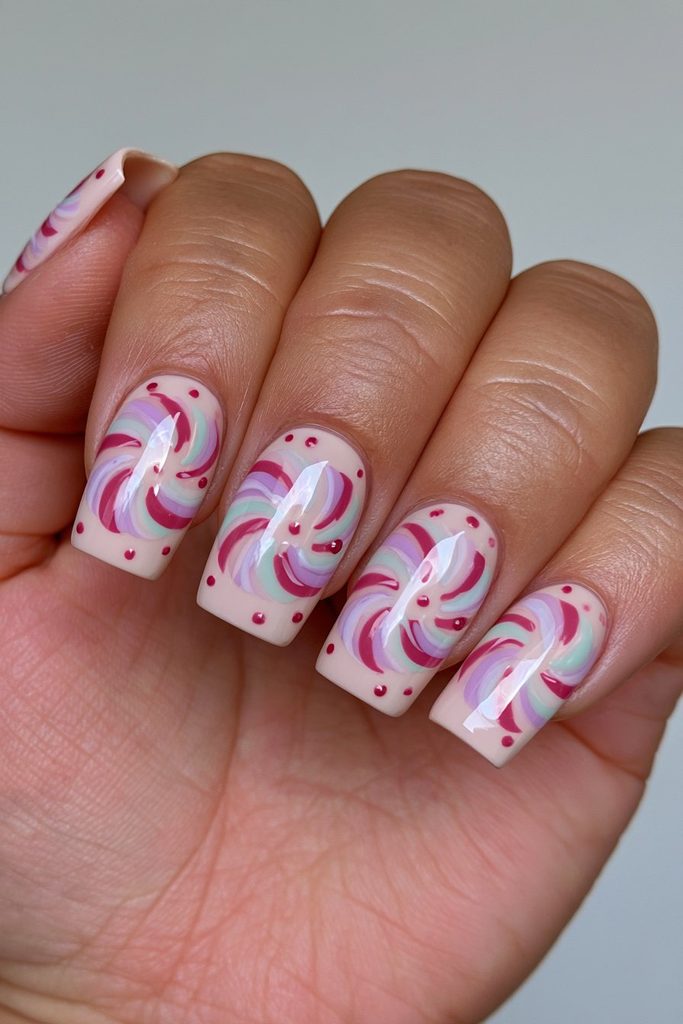
Trade stripes for dots: use a dotting tool to place alternating red and white dots in a spiral that mimics a candy cane’s twist. It’s more forgiving than freehand lines since dots don’t need to be perfectly even to look intentional, making this a good option if striping tape feels fiddly.
Peppermint Swirl Nails
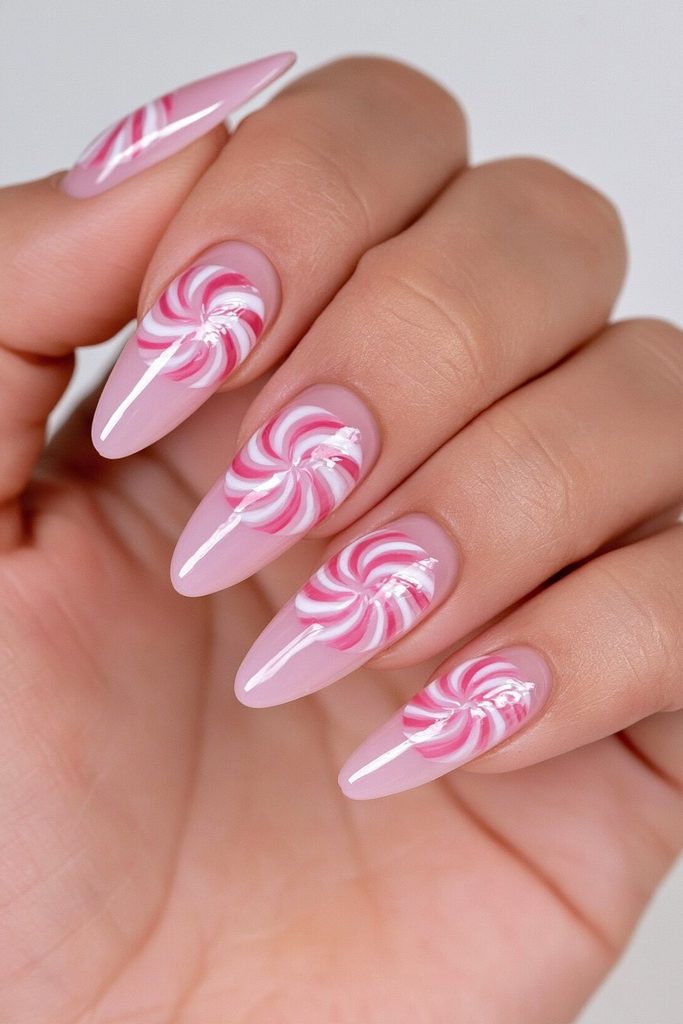
A close cousin of the candy cane, the peppermint swirl uses a tighter, circular red-and-white pattern centered on the nail rather than running edge to edge. Start with a white base, then use a fine brush to paint a spiral from the center outward, keeping the lines slightly curved rather than straight.
Candy Cane Striping Tape Design
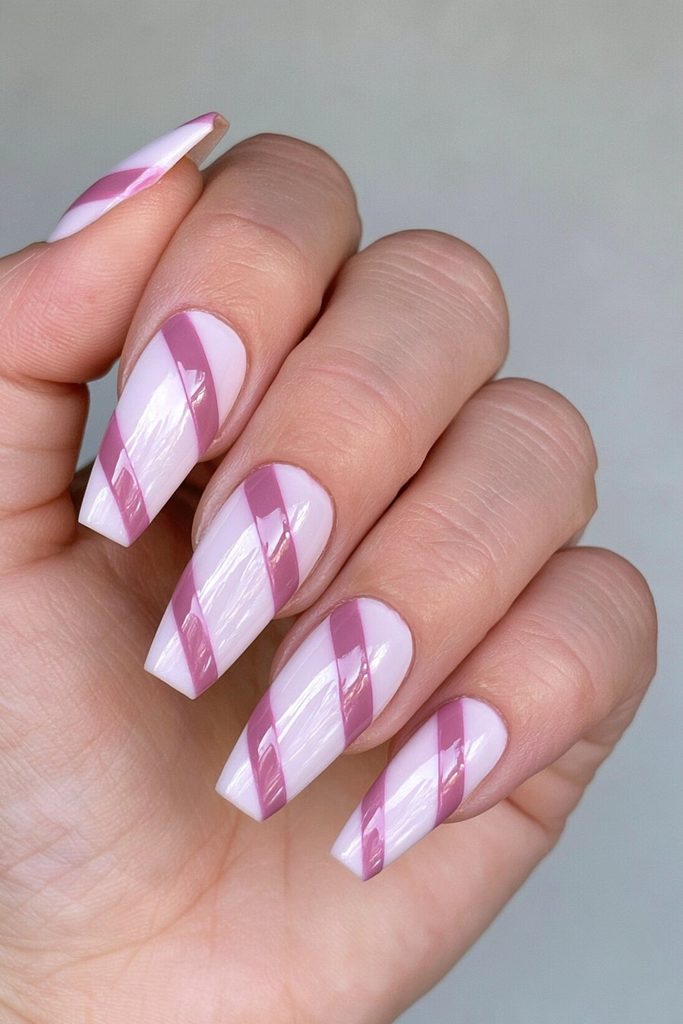
Striping tape is arguably the easiest way to get pharmacy-perfect lines without a steady hand: press strips diagonally across a dry base coat, paint over them, then peel away while the polish is still slightly tacky. Pro tip: from conversations with nail technicians over the years, one detail comes up again and again — sealing the tape’s edges with top coat before painting keeps polish from bleeding underneath and gives the stripe a cleaner edge. This DIY holiday nail art guide covers a similar tape-and-peel method in more detail.
Candy Cane Heart Accent
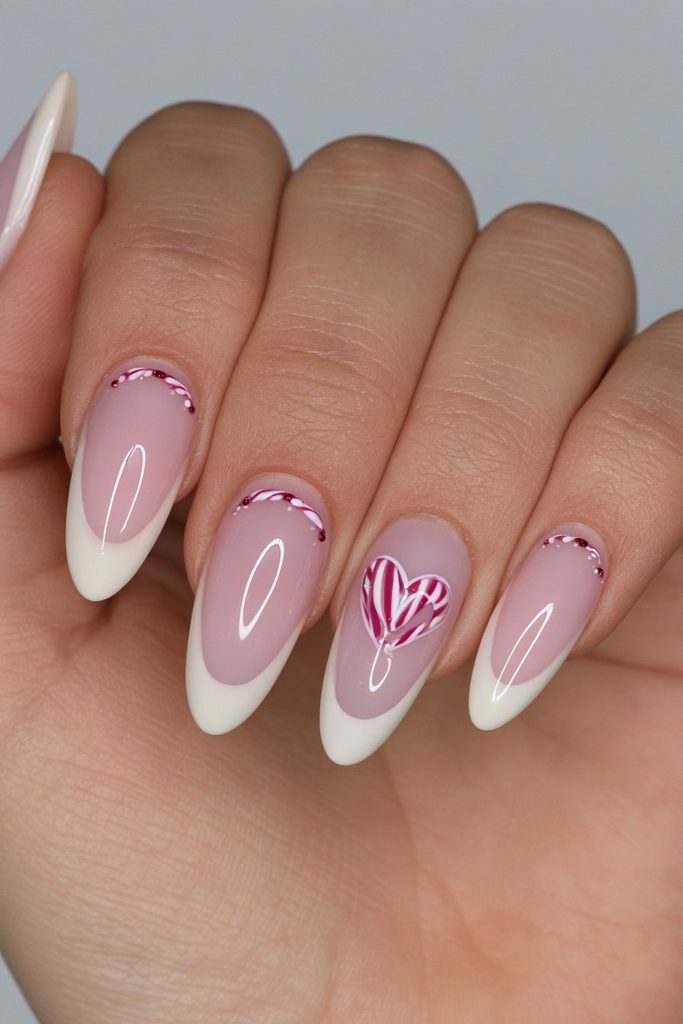
Combine two holiday-adjacent motifs by painting a small red-and-white striped heart on one nail instead of straight stripes. Outline the heart shape lightly in pencil first if you’re not confident freehanding it, then fill in with alternating thin stripes. It reads sweet rather than saccharine, especially paired with plain red or white on the remaining nails.
Matte-and-Glossy Candy Cane Stripes
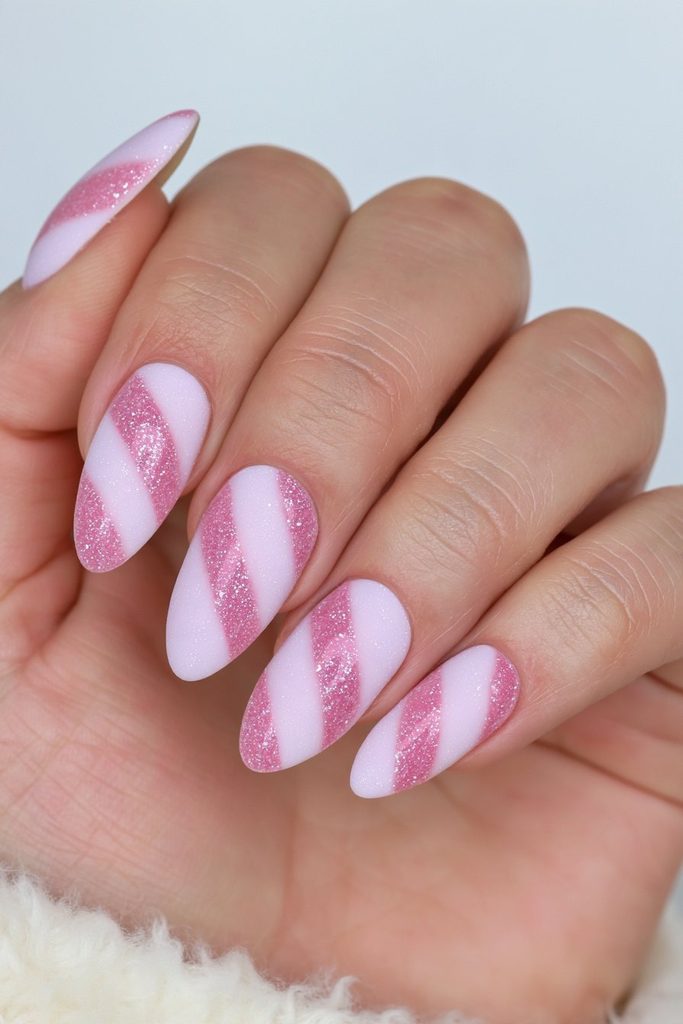
Play with finish instead of just color: paint the white sections in a matte top coat and leave the red stripes glossy, or vice versa. The contrast gives the design texture and depth even in a simple stripe pattern, similar to the soft, dimensional look explored in bubble bath nail designs. It’s a subtle upgrade that photographs particularly well.
Candy Cane Half-Moon Manicure
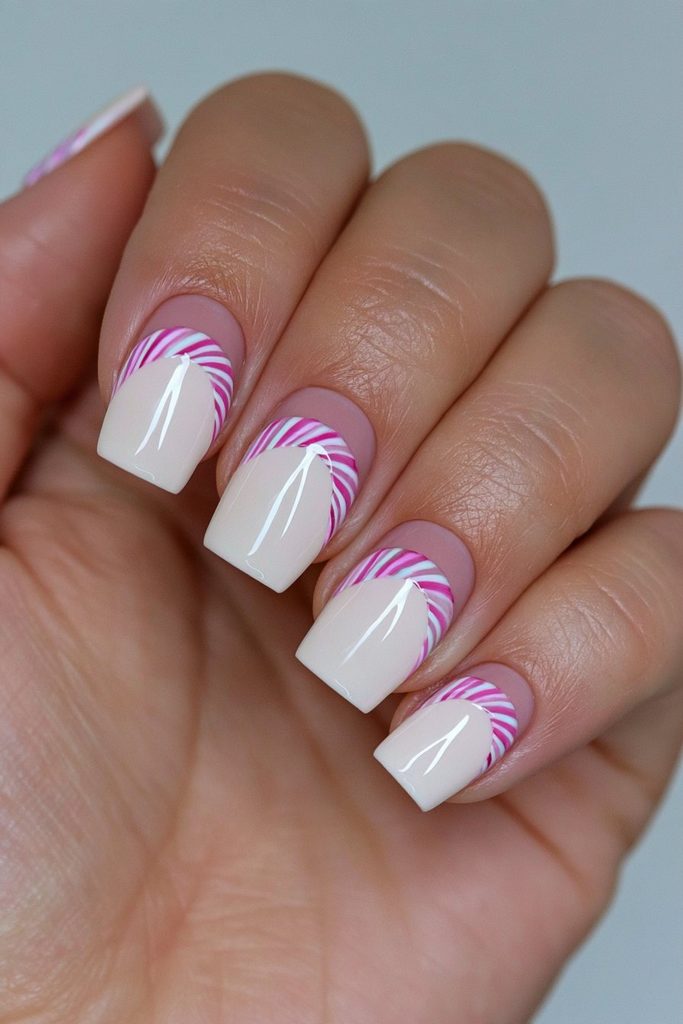
Update the retro half-moon manicure with a candy cane twist: paint the cuticle-area crescent in white, the rest of the nail in red, and add one or two thin stripes across the boundary where the colors meet. It’s a structured, slightly vintage-feeling take on the trend.
Green-and-White Candy Cane Twist
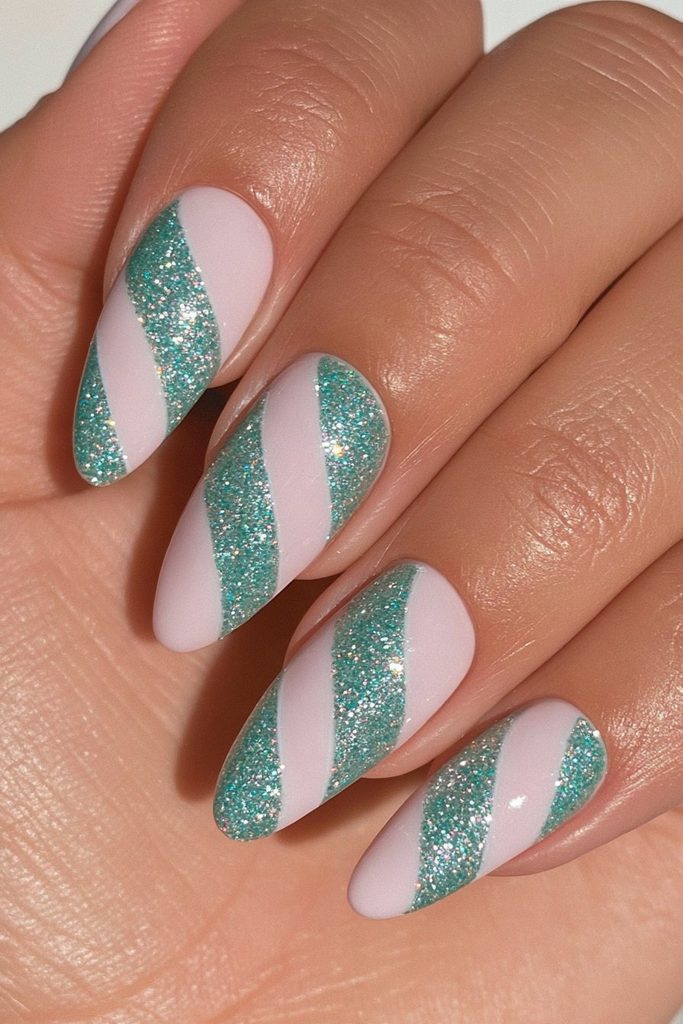
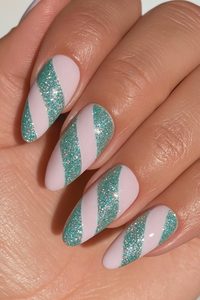
Not every candy cane needs to be red. Swap in a deep green for a design that still reads instantly festive but feels a little less literal — a color swap in the same spirit as the seasonal shift seen in butter yellow nail designs, just moved toward winter greens instead. Keep the same diagonal stripe technique; only the color changes.
Candy Cane Confetti Nails
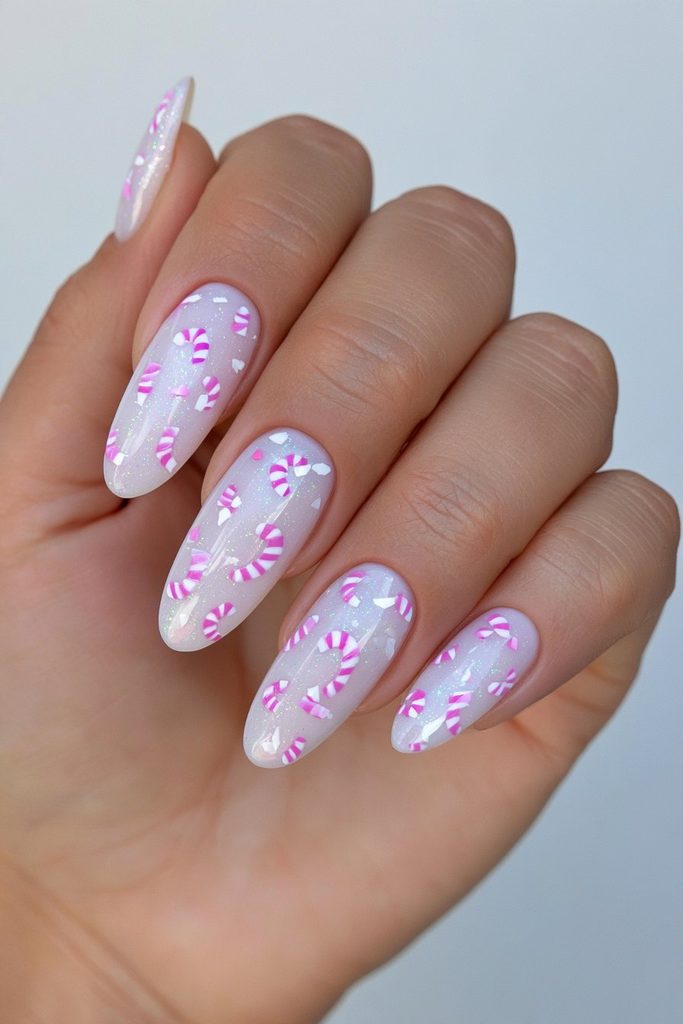
Scatter small red and white flecks — dots, tiny squares, or short polish strokes — over a clear or pale base for a candy cane color story without the literal stripe. It’s an easy option if precise lines aren’t your strength, since the imperfection reads as intentional texture rather than a mistake.
Holographic Candy Cane Stripes
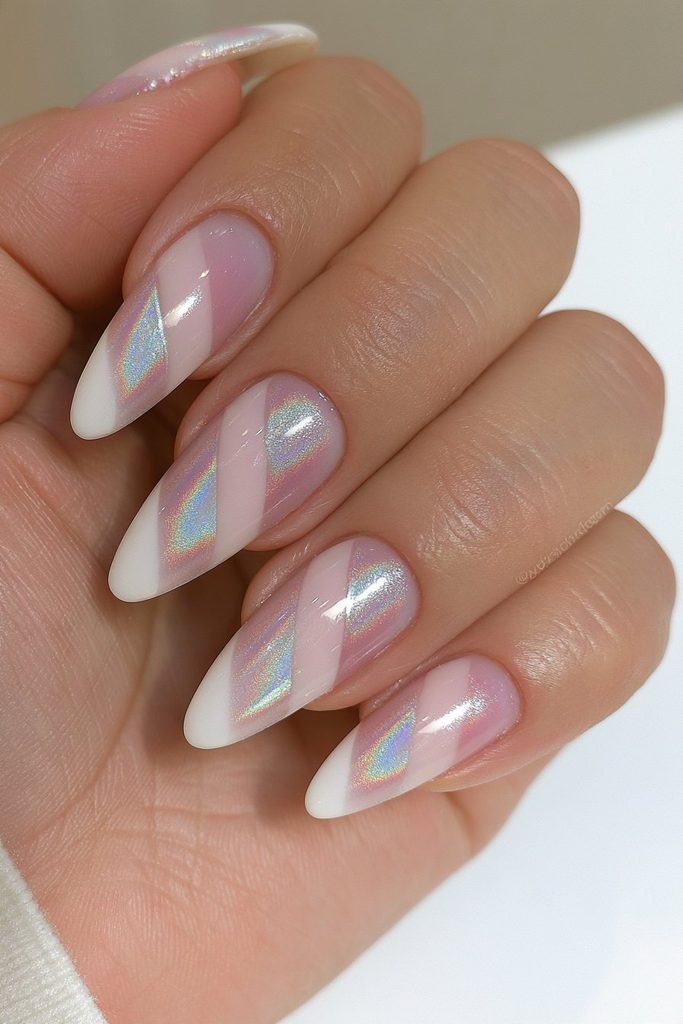
Swap a plain white base for a holographic or iridescent white polish, then add your red stripes on top. Under indoor lighting, the holo finish catches light in tiny rainbow flecks, giving the classic pattern an icy, almost frost-like quality that feels a little more elevated for evening events.
Easy Toothpick Candy Cane Art
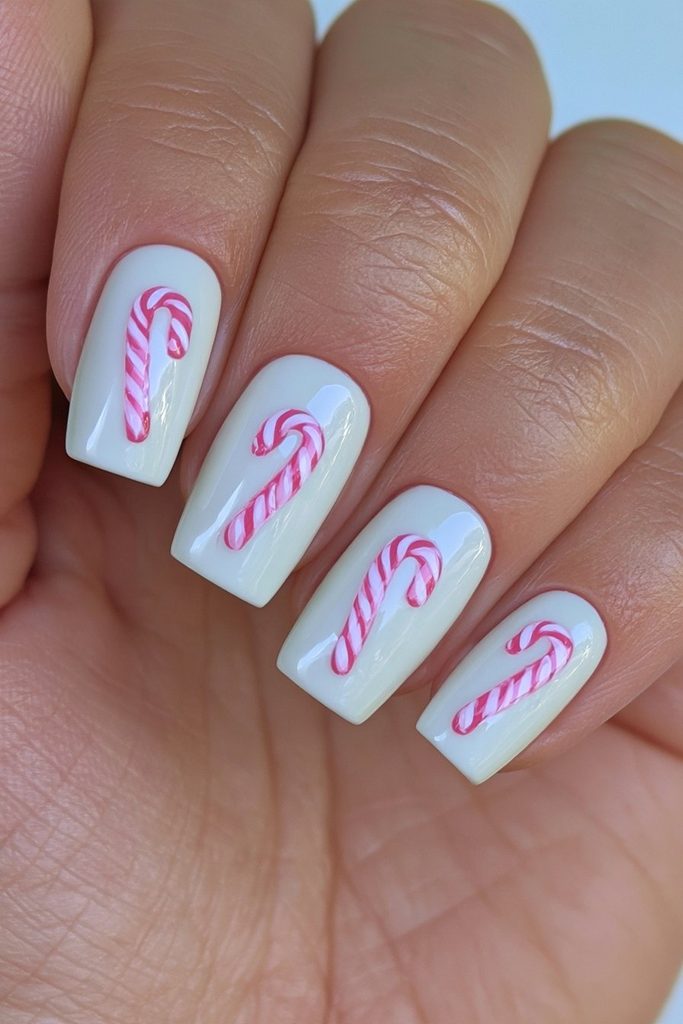
No striping brush? A regular toothpick dipped in red polish works surprisingly well for thin, controlled lines, especially on shorter nails where a full brush can feel oversized. Dip lightly, wipe off excess on a paper towel first, and draw the stripe in one smooth motion rather than going back over it.
Candy Cane Nail Charms
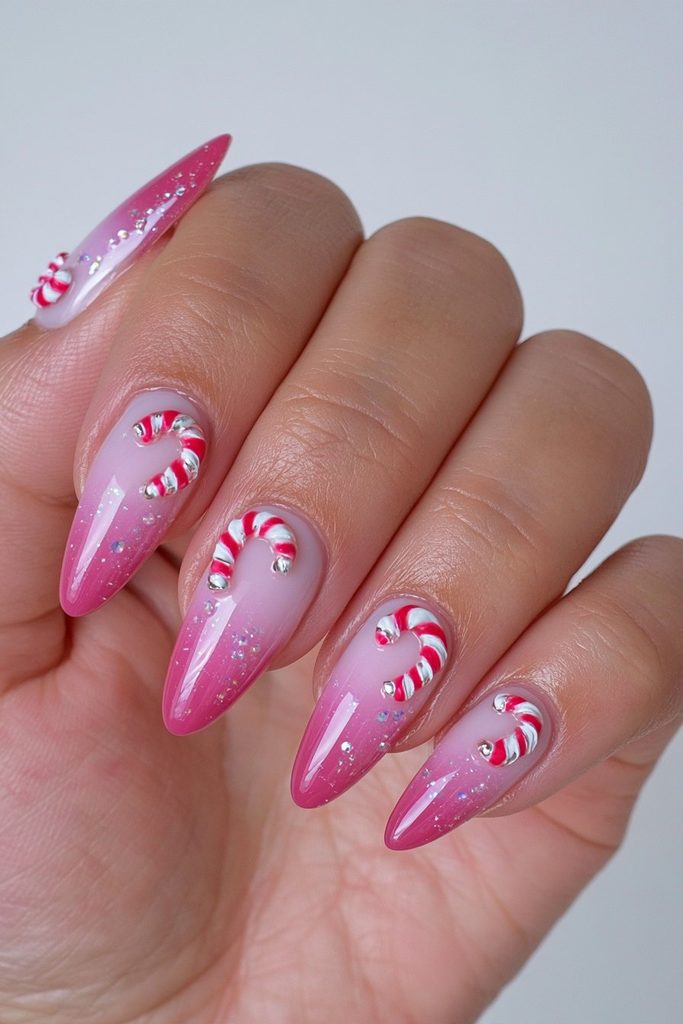
For a no-paint option, add small candy cane–shaped charms or 3D resin pieces to a plain red, white, or clear manicure using nail glue. It’s the fastest design on this list — no drying time between color layers — and works well as a topper for nails you’ve already painted a solid holiday shade.


Elsa Claire is the founder and editor of ElsaClaire.com, where she writes about hairstyles, hair care, and the everyday routines that help real people feel good about their hair.