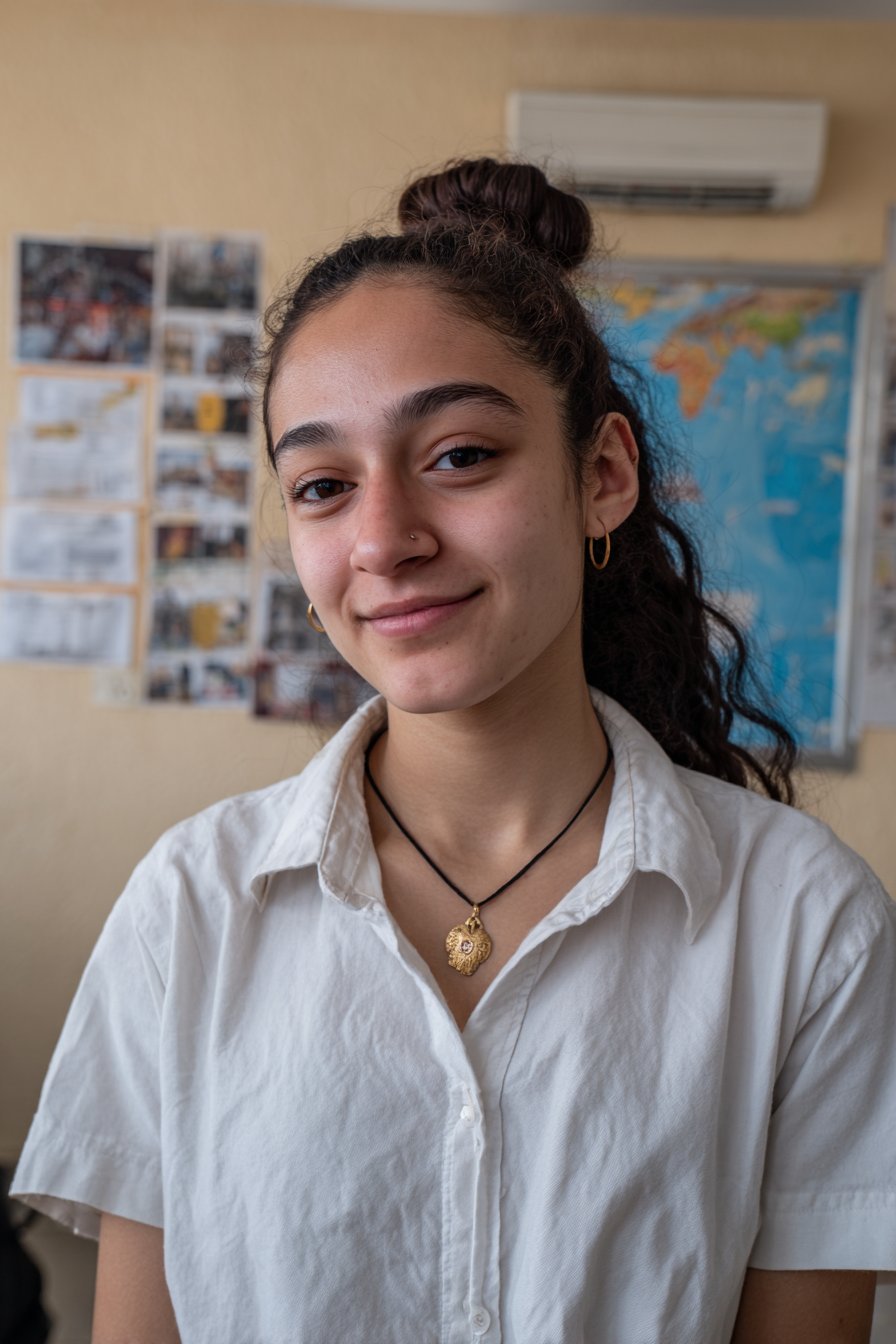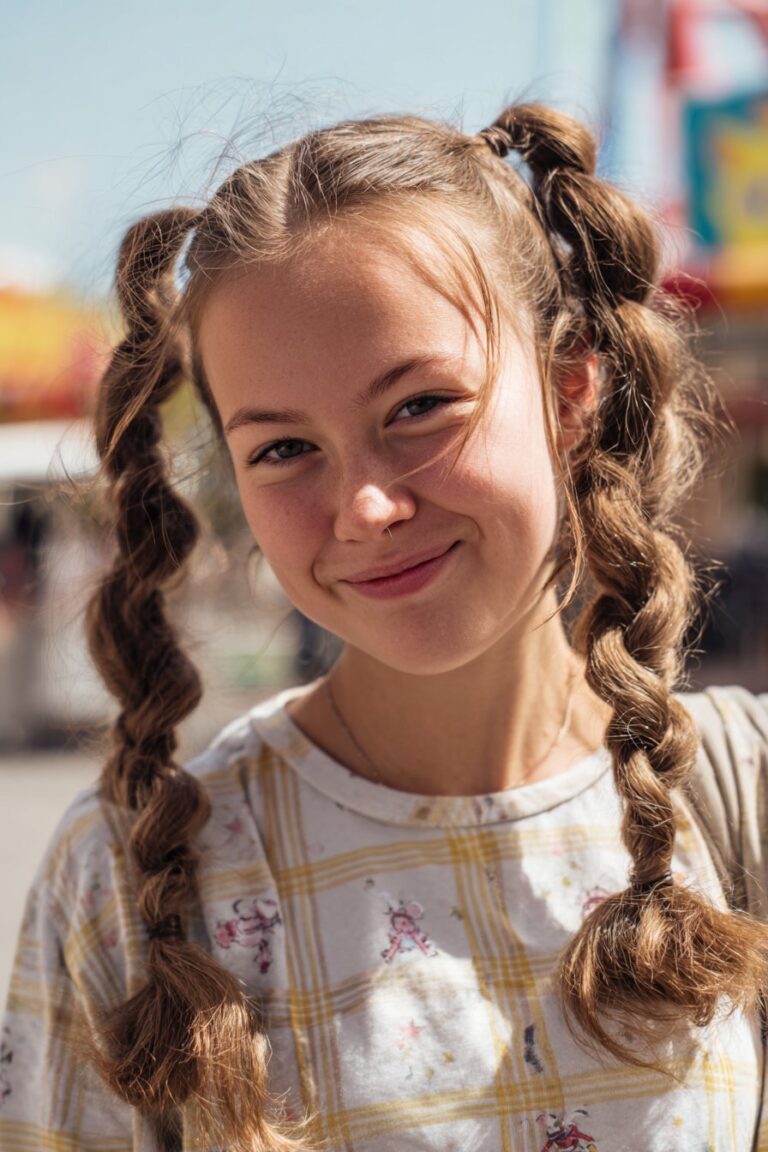
I’ve watched countless parents struggle with morning hair routines, searching for styles that are both adorable and practical. That’s why 2 braided ponytails for kids have become my go-to recommendation for busy families.
These styles are protective, versatile, and surprisingly easy to master. Whether you’re exploring braid ponytail ideas with beads, learning how to do two braided ponytails for the first time, or creating 2 ponytail braids for little girl special occasions, I’ve got you covered.
Here are 15 beginner-friendly styles I’ve perfected over the years, complete with step-by-step guidance from my chair.
Classic Double Dutch Braided Ponytails

This style is where I start almost every parent who walks into my salon wanting to learn how to do two braided ponytails. Dutch braids create that beautiful raised effect that sits on top of the head, and combining them into ponytails gives you a secure style that lasts through recess, dance class, and everything in between.
What You’ll Need
Gather a rattail comb, several bobby pins, a hair band, and medium-hold hairspray before you begin. I keep all these supplies in a small basket near my styling station so I’m never hunting for them mid-braid.
Step-by-Step Instructions
Start by parting the hair slightly off center or down the middle. For beginners, I recommend the center part since it makes both sides more equal. Pick up a section on one side and divide it into three pieces. The key difference with Dutch braids is crossing strands under the middle section instead of over it[2].
Cross the right strand under the middle, then the left strand under the middle. On your next crossing, pick up a new section of hair and add it to the strand before crossing it under. Continue this pattern, adding hair to both sides as you work toward the back of the head. Keep the braid tight and close to the scalp so it doesn’t become loose.
Once you reach the back and bring in hair from behind the ear, stop adding new sections. Continue braiding the remaining length a bit further, then secure it with a bobby pin. Repeat these exact steps on the other side.
When both braids are complete, combine all the hair into a high ponytail and secure it with your hair band. Remove the bobby pins from the braid ends. Pull gently on the edges of both braids to make them fuller. Take a small section from the ponytail, wrap it around the hair band, and pin it underneath. Finish with hairspray to tame flyaways.
Pro Tips from My Chair
Work with second or third day hair whenever possible[21]. Freshly washed hair slips out of my hands constantly, making the braiding process frustrating for both me and the child. If you must work with clean hair, a light spray of dry shampoo adds the texture you need.
Best For
Active kids who need their hair to stay put all day. This style works beautifully for school, sports, and special occasions when you want something polished yet playful.
Side-Swept Braided Ponytails with Ribbons

Ribbons completely changed how I approach 2 ponytail braids for little girl styles. Adding ribbon to any hairstyle doesn’t take much extra time, but makes a huge difference in how a style stands out. I’ve seen kids light up when they spot their favorite color woven through their braids.
What You’ll Need
- 2-3 feet of ribbon per braid (satin works beautifully)
- Clear elastic hair ties
- Rattail comb for parting
- Texture spray or dry shampoo
- Small hair ties to secure ribbon
You can find ribbon at craft stores for around $1 per roll and reuse it repeatedly. I keep a rainbow collection in my station drawer specifically for kids who want to match their outfits or team colors.
Step-by-Step Instructions
Create a deep side part following the natural cowlick pattern. This gives the braid more volume since there’s more hair on that side. If the hair is fine or slippery, spray with dry shampoo at the roots.
Tie your ribbon onto a hair tie, then secure the hair into a side ponytail using that tie. The ribbon should hang down with the ponytail. Divide the ponytail into three sections, making one section include the ribbon combined with hair.
Begin your Dutch braid by crossing strands under the middle section. Keep the ribbon aligned with its designated hair section throughout the entire braid. Continue braiding down the length and secure with a clear elastic.
Hold the elastic and gently pull each loop of the braid to create fullness. This pancaking technique makes even thin hair look fuller. Gather both side ponytails together at your desired height and secure with another elastic.
Pro Tips from My Chair
Work with second-day hair when braiding with ribbon. Clean hair slides around too much, making it harder to keep the ribbon positioned correctly. A light mist of texture spray gives you the grip you need.
Match ribbons to holidays, school colors, or special events. Red and green for winter celebrations, pastels for spring, team colors for game days.
Best For
Kids who love color and personality in their hairstyles. This style works beautifully for school photos, birthday parties, or any day your child wants to feel extra special.
2 Braided Ponytails with Beads

Beads add personality that makes kids feel special every time they catch their reflection. I’ve watched children pick out their favorite colors with such careful consideration, matching them to outfits, moods, or just because they sparkle in the light.
What You’ll Need
A hair beader tool makes this process significantly easier than trying to thread beads manually. You’ll need large hole beads ranging from 5mm to 8mm to fit properly over braided sections. Stock up on rubber bands for securing the ends, and make sure you’ve already created your base braided ponytails before starting the beading process.
Step-by-Step Instructions
Line up your beads in the exact combination you want and insert them into the hair beader tool. The first bead you insert will end up at the bottom of your finished braid, so plan your color pattern accordingly.
Thread the end of your completed braid through the beader loop. Pull the braid through all the beads by gently tugging on the beader tool. Once the hair passes through completely, you’ll need to secure everything in place.
Fold the end of the braid back up until it reaches approximately 1cm above your last bead. Wrap a rubber band around this folded section to lock the beads in position. This folding technique prevents beads from sliding off during active play.
Pro Tips from My Chair
Have your child shake their head vigorously after securing the first few beads. This simple test reveals whether your securing method needs adjustment before you finish all the braids. If beads slip or the rubber band feels loose, redo that section immediately.
Spiral hair ties reduce friction compared to traditional elastic bands, which can cause breakage on delicate hair. I keep both options available because thicker hair sometimes needs the stronger grip of regular elastics.
Best For
Kids aged 2-15 who want to express their individuality through creative styling. This protective hairstyle keeps natural hair safe while adding a fun, fashionable element to everyday looks.
French Braided High Ponytails

French braids give you that polished, elevated look without requiring advanced skills. The technique sits perfectly between basic three-strand braids and more complex styles, making it ideal when you want something that looks impressive but won’t eat up your morning routine.
What You’ll Need
A hairbrush removes all knots before you begin. You’ll need a hair tie to secure the final ponytail, and finishing spray is optional for taming flyaways. Keep rubber bands, a comb or brush, hair clips, and bobby pins nearby. Having everything within reach prevents those frustrating mid-braid pauses when little ones get restless.
Step-by-Step Instructions
Smooth the hair completely with your brush. Section off the top half horizontally, as if creating a half-up style, then separate three small chunks at the front. This becomes your braid foundation.
Cross the right section over the middle, then the left over the middle. On the left side, gather a small piece of hair and add it to the left section before crossing over the middle strand. Repeat this process on the right side. Continue adding hair from both sides until you reach ear level.
Bring all remaining hair up into a ponytail and tie it off with a clear elastic band. Smooth any flyaways with hairspray, making sure to avoid the child’s eyes. Take a small piece of hair from under the ponytail, wrap it around the elastic band to hide it, then secure with a hair pin by pushing it up into the ponytail.
Pro Tips from My Chair
French braiding crosses sections over the top of the middle section, while Dutch braiding crosses underneath. French braids create a softer look, which parents often prefer for everyday wear.
Best For
School mornings when you need something quick yet polished. This style works beautifully for kids who want a put-together look without spending excessive time in the styling chair.
Twisted Rope Braided Ponytails

Rope braids create the illusion of complexity while being one of the fastest techniques in my arsenal. Parents often walk into my salon intimidated by intricate-looking styles, but rope braids are simple, twist-based plaits that take only minutes to master. The style creates the perception that you spent a good hour on hair, but in reality it can be done in 5 minutes or less.
What You’ll Need
A brush for detangling, clear elastic bands for securing, and texture spray if working with slippery hair. I also keep a styling brush nearby to smooth out hair after adding texture, which really shows the volume you’ve created.
Step-by-Step Instructions
Pull the hair into two ponytails at your desired height. Secure each one tightly with elastic bands. Take one ponytail and divide it into two equal sections. Twist each section tightly in the same direction, keeping strong tension as you work.
Once both sections are twisted, wrap them around each other in the opposite direction to form the rope. This counter-twisting creates the signature rope effect that holds beautifully. Secure the end with a clear elastic.
For added dimension, try this variation: divide the ponytail into three sections instead of two. Create three separate rope twists by twisting each section. After making the three twists and tying them off at the bottom, braid the three twists together like a normal three-strand braid. This creates incredible texture and visual interest.
Pro Tips from My Chair
Work at the front of the hairline when incorporating rope twists into the style, grabbing about an inch to inch and a half section. This frames the face beautifully. After water activities and all-day wear, the style stays remarkably intact and creates gorgeous wavy texture for the next day.
Best For
Active kids who need a bounce-proof look perfect for class, recess, or after-school sports. This secure style stays put from the first bell to the final bus ride.
Cornrow Braided Ponytails for Natural Hair

Cornrows for natural hair are protective styles I recommend to parents who want weeks of worry-free mornings. These braids keep hair tucked safely away from daily manipulation while creating polished looks that work for everything from school days to special events.
What You’ll Need
A metal rat tail comb gives you the straightest parts possible. You’ll need a wide tooth comb for detangling, though I recommend using your fingers first to work through knots gently. Stock up on moisturizer or leave-in conditioner, a product with strong hold like Eco styler gel, and a spray bottle filled with water. Beads, barrettes, or hair cuffs add personality when securing the ends.
Step-by-Step Instructions
Wash and detangle the hair completely, then moisturize according to the LOC method. Section off the top middle row first since it’s easiest for beginners. Keep rows narrow because they look cleaner when finished.
Cornrows are inverted French braids where you cross strands under the middle section instead of over. Take the first quarter inch of hair at the top, divide it into three sections, and pass the right section under the center. Pass the left section under the new center to complete one stitch.
As you continue, lift small bits of hair from directly under the braid and add them to the center section before crossing. Work down the row until all hair is incorporated. Braid any remaining length normally and secure with a band. Repeat on the other side, keeping both rows the same width for uniformity. Gather both braids into ponytails at your desired height.
Pro Tips from My Chair
Apply light oil to the scalp and wrap hair in a satin scarf at night. This keeps braids fresh and frizz-free for days. Keep tension even throughout to prevent discomfort on sensitive hairlines.
Best For
Active kids who need durable styles lasting through sports practice, class pictures, and busy schedules.
Bubble Braid Ponytails

Bubble braids became a workshop favorite after I demonstrated them at a styling class and watched parents’ faces light up at how simple they were. The playful, whimsical appearance wins over kids instantly, while the quick execution wins over busy parents.
What You’ll Need
- Hairbrush or wide-tooth comb
- Rat-tail comb for parts
- Multiple clear elastic bands (more for longer hair)
- Leave-in serum for frizz control
- Styling cream for hold
- Strong-hold hairspray
Step-by-Step Instructions
Bubble braids work beautifully on second or third day hair since the extra grip helps hold your style. If working with freshly washed hair, apply leave-in serum to damp strands before drying completely.
Brush the hair into one high ponytail or create pigtails by parting down the middle. Secure with an elastic as close to the scalp as possible. Wrap another elastic one to two inches down the ponytail, keeping equal distance between each bubble for a polished result.
Once all elastics are placed, use your index fingers and thumbs to gently pull each section outward, creating the bubble effect. You can make bubbles symmetrical or vary their size, starting larger at the base and getting smaller toward the ends. Finish with strong-hold hairspray to lock everything in place.
Pro Tips from My Chair
Spray your hands with hairspray while fluffing each bubble for extra grip and to prevent flyaways. If a section feels loose, add an extra elastic below the existing one without redoing the entire braid.
Best For
Active kids who need styles that last through playground chaos while still looking fun and festive. This works on any hair texture and length.
Criss-Cross Braided Ponytails

The lattice pattern of criss-cross braids caught my attention years ago when a parent showed me a photo from another stylist. I spent that evening figuring out the technique, and it’s become a favorite for families wanting something visually striking yet manageable.
What You’ll Need
Rattail comb for clean parting, rubber bands (you’ll use quite a few), hair clips to hold sections, and finishing accessories like bows or flowers. This style works with any hair type, texture, or length, from short hair to long, curly to straight.
Step-by-Step Instructions
Part hair back from the temples across the top of the head. Section the front portion left to right, excluding hair by the ears, and divide into two small ponytails secured with rubber bands. Hold unworked hair aside with clips.
Part another section to create two more squares. Take the front left ponytail and cross it to the right side, joining it with the new right section and securing with a rubber band. Take the front right ponytail and join it with the new left section, forming an X. Repeat this process to create another X pattern.
Part remaining back hair straight down the middle. Comb each side into a ponytail, including the tails from your criss-crosses.
Pro Tips from My Chair
Tighten rubber bands properly so your X patterns don’t look curved or sloppy. The visual impact depends on crisp, defined crosses.
Best For
Kids needing styles for gymnastics, sports, and dance. This keeps bangs out of eyes while looking polished.
Fishtail Braided Ponytails

Fishtail braids fooled me for years. I assumed they required advanced skills until a client showed me the technique, and I realized they’re simpler than regular three-strand braids.
What You’ll Need
A brush or comb removes tangles completely. You’ll need clear elastics for securing ends, and I recommend a spray bottle with leave-in conditioner mixed with water. Hair oil or water spray keeps the fishtail smooth and frizz-free.
Step-by-Step Instructions
Pull hair into a low or high ponytail and secure it. Split the ponytail into two equal sections. Take a small section from the outside of the right half, cross it over to the middle, then incorporate it into the left side. Repeat on the opposite side by taking a small section from the outside of the left half, crossing to the middle, then joining the right side.
Continue alternating sides until you reach the bottom. Secure with an elastic. Gently pull outward on the braid sections to create fullness. The smaller your sections, the more defined the fishtail pattern appears.
Pro Tips from My Chair
Skip freshly washed hair. Leave-in conditioner spray smooths the strands and makes gathering small sections easier. Second-day hair provides the texture you need for this style.
Best For
School days, parties, and everyday wear. This sleek style works beautifully when you want something polished yet simple.
Heart-Shaped Braided Ponytails

Heart shapes bring instant charm that makes kids request this style repeatedly. The arched braids form a romantic silhouette that photographs beautifully for special occasions, yet the technique is simpler than it appears.
What You’ll Need
Gather a brush, rat-tail comb, spray bottle, two small hair elastics, bobby pins, and hairspray. A fabric ribbon or bow adds a finishing touch.
Step-by-Step Instructions
Begin with a center part and add loose texture using a wand or smoothing iron. Section a heart shape at the high point of the head by marking the two arches, skipping the bottom point.
Take a small section where the arches meet and divide into three strands. Begin a Dutch braid, adding hair only from the side closest to the face while following the curved arch. When you reach where the point should start, stop adding hair and continue with a basic three-strand braid. Secure with an elastic. Repeat on the opposite side.
Pull each loop gently to expand the braid and add fullness. Attach both braids together with an elastic. Wrap a small strand from the ponytail around the elastic to hide it. Finish with hairspray.
Pro Tips from My Chair
Using a mirror helps when creating this on yourself. The style takes 5-7 minutes once you’ve practiced.
Best For
Special events, school photos, or any day your child wants to feel extra loved.
Zigzag Parted Braided Ponytails

Zigzag parts transformed my approach to everyday styling when a toddler’s grandmother requested something “fun but not fancy.” The playful pattern adds personality that makes simple ponytails stand out.
What You’ll Need
A wide-tooth comb or detangling brush works gently through hair without causing discomfort. You’ll need a fine-tooth comb for creating precise zigzag lines, soft elastic hair ties that won’t snag, and leave-in conditioner for manageability. Hair clips hold sections while you work.
Step-by-Step Instructions
Brush through hair completely to remove tangles. If the hair feels dry, apply leave-in conditioner. Using the pointed end of your comb, create a zigzag part from the front hairline to the back. Start at the center and work to one side, then repeat on the other. Keep the zigzag pronounced but not too deep for comfort.
Clip one side while working on the other. Gather hair into a ponytail and secure with a soft elastic. Repeat on the opposite side, keeping both ponytails even in height. Add colorful bows or clips for extra personality.
Pro Tips from My Chair
Involve your child by letting them choose hair accessories. This keeps them engaged and excited. The style takes 5-10 minutes once you’ve practiced.
Best For
Active toddlers and young kids wanting playful looks for school and everyday wear.
Low Braided Ponytails with Hair Cuffs

Hair cuffs became my secret weapon after styling a music video where the director wanted edge without damage. These metal accessories slip onto braids and instantly elevate simple styles into statement looks. Braiding hair cuffs add flair to braids, locs, and extensions perfectly.
What You’ll Need
Gather three hair elastics, a rattail comb for parting, and your choice of hair cuffs or bows. Metal cuffs create an edgy vibe, while fabric bows keep things sweet. Both options work beautifully depending on your child’s personality.
Step-by-Step Instructions
Part hair loosely to one side and separate a large section along the hairline. Clip remaining hair aside. Split your section into three parts and create a Dutch braid angling back, crossing strands under the middle. Add hair to both sides as you braid, continuing for a few sections before finishing with a regular braid. Secure with a small elastic, then stretch the braid outward to make it fuller.
Repeat identically on the opposite side. Combine all hair into a low ponytail and remove the individual braid elastics. Slide your hair cuff over the ponytail elastic to hide it.
Pro Tips from My Chair
Spray dry shampoo lightly on freshly washed hair since braids hold better with texture. Your accessory choice transforms the entire look.
Best For
Kids wanting polished styles for performances, special events, or days when they feel like standing out.
Pull-Through Braid Ponytails

Pull-through braids fooled clients for months before I revealed the secret: there’s no actual braiding involved. This faux braid technique creates incredible volume using nothing but ponytails and a pull-through method.
What You’ll Need
Long hair, elastic hair ties (clear work best), and hair clips are your essentials. I keep everything within arm’s reach since you’ll be working with multiple ponytails simultaneously.
Step-by-Step Instructions
Pull hair at the crown into a ponytail and clip it forward toward the face. Grab hair on either side below this section and secure into a second ponytail directly underneath. Split the first ponytail down the middle and pull the second ponytail through these sections, clipping it forward.
Continue this pattern by gathering side hair plus the split sections from above, creating a third ponytail. Pull it through the clipped ponytail sections. Repeat until you reach the nape, then secure everything into a final low ponytail.
Gently pull on each loop to create fullness. This pancaking technique transforms tight sections into voluminous bubbles that make even thin hair look incredibly thick.
Pro Tips from My Chair
Second or third day hair holds this style better than freshly washed strands. Add dry shampoo for extra grip and texture.
Best For
Kids needing impressive styles that photograph beautifully for special events yet remain surprisingly quick to create.
Halo Braided Ponytails

Halo braids wrap around the head like a crown, creating an angelic frame that parents request for special photos and milestone celebrations. The technique requires medium skill level but takes just 5-8 minutes once you’ve practiced.
What You’ll Need
A brush, rattail comb, spray bottle, bobby pins, hair elastics, and hairspray form your toolkit. Hair should ideally reach at least halfway down the upper arm for clean results, though shorter lengths can work with extra effort.
Step-by-Step Instructions
Create a part from front to nape about 2 inches above each ear. Secure the middle section into a high ponytail. Divide this ponytail in half and clip one side away. Starting on one lower section, begin a French braid, picking up hair from the ponytail when adding to the top. Your braid should rest on the part line to cover it.
When new hair runs out, continue braiding to the end and secure with a small elastic. Repeat on the opposite side. Wrap one braid up around the head and tuck ends into the front. Repeat with the second braid. Secure everything with bobby pins and finish with hairspray.
Pro Tips from My Chair
This style takes multiple attempts to master, so don’t get discouraged. Each practice round improves your speed and precision.
Best For
Weddings, formal events, and toddlers needing styles that photograph beautifully.
Mixed Texture Braided Ponytails

Mixing textures opened possibilities I hadn’t fully explored until working with children whose hair naturally combined tight coils at the roots with looser curl patterns at the ends. This style embraces that beautiful diversity by cornrowing hair from the perimeter up toward the crown, then gathering it into loose curls or a single braid.
What You’ll Need
A wide-tooth comb for detangling without disrupting curl patterns, edge control gel, hair ties, and optional synthetic extensions if you want box braids with curly tips. Leave-in conditioner keeps natural texture hydrated throughout the styling process.
Step-by-Step Instructions
Work with dry, thoroughly brushed hair since wet styling can cause breakage. Section hair from the hairline back, creating small cornrows that angle toward your chosen ponytail placement. This sleek foundation keeps hair secure during sports or school activities.
Once cornrows reach the crown, gather all hair into a ponytail. For instance, you can leave the ponytail ends in their natural curl pattern or add box braid extensions with curly tips for extra length. This creates a natural textured ponytail with volume while remaining lightweight.
Pro Tips from My Chair
Add extensions for length or use natural hair for a lighter feel. Both options work beautifully.
Best For
Kids with naturally mixed textures wanting styles that highlight their facial features while working for casual and formal occasions.
Conclusion
All things considered, mastering these 15 styles gives you a complete toolkit for every occasion your child faces. Whether you’re trying your first Dutch braid or experimenting with ribbon accents, the key is starting with one technique that matches your current skill level. Once you’ve practiced that foundation, the other styles become surprisingly manageable. I’ve watched countless parents walk into my salon feeling intimidated, only to leave confidently creating beautiful braided ponytails at home. Your child’s hair journey starts with a single braid. Pick the style that excites you most and give it a try this weekend.